


Since 2008, Integrity Roofing, Siding & Windows has been chosen for complete exterior remodeling among the Kansas City community. By placing an unwavering commitment on doing what’s right, we’re able to deliver industry-leading materials, tailored solutions, and consistent updates and communication for every remodel. We look for ways to strengthen our core values through award-winning services and certified installers who are dedicated to trustworthy business practices. Contact us today to begin your personalized exterior home remodel!
Get a Free Consultation Learn More About UsRoofing
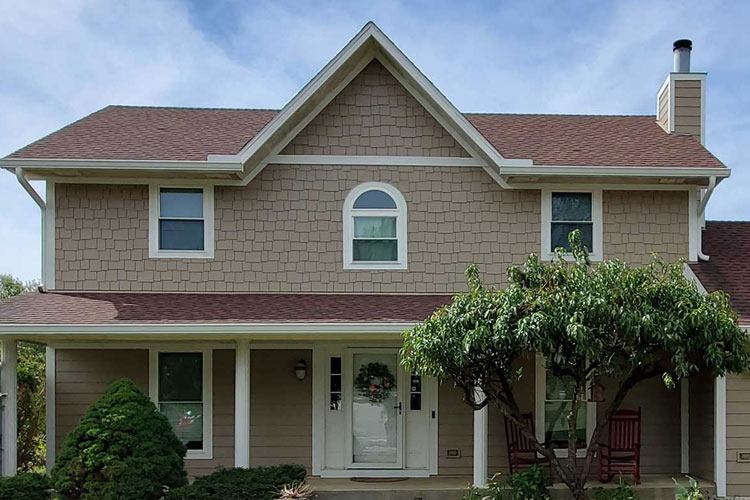
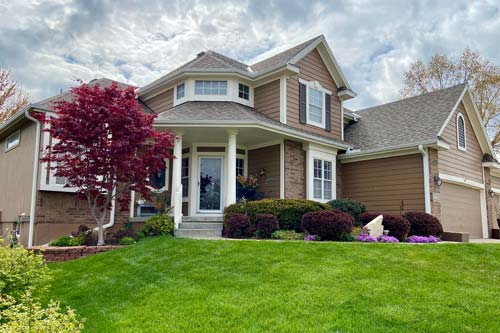
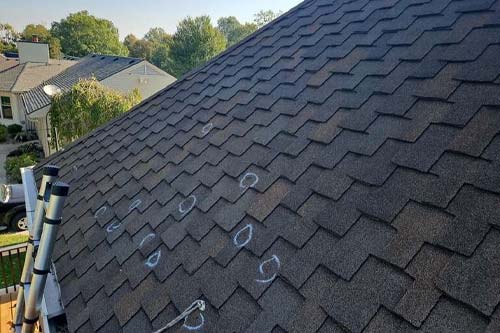
Keep your home protected with top-notch services for personalized roof replacements and timely roof repairs.